Step-by-Step: How to Create and Manage Your ProDoo Workplaces
Managing multiple teams or hiring projects can be complex, but setting up a structured digital environment shouldn’t be. ProDoo offers a streamlined solution to help you organize your recruitment and team management efforts efficiently.
This guide walks you through the simple process of setting up, customizing, and managing your Workplaces on the platform.
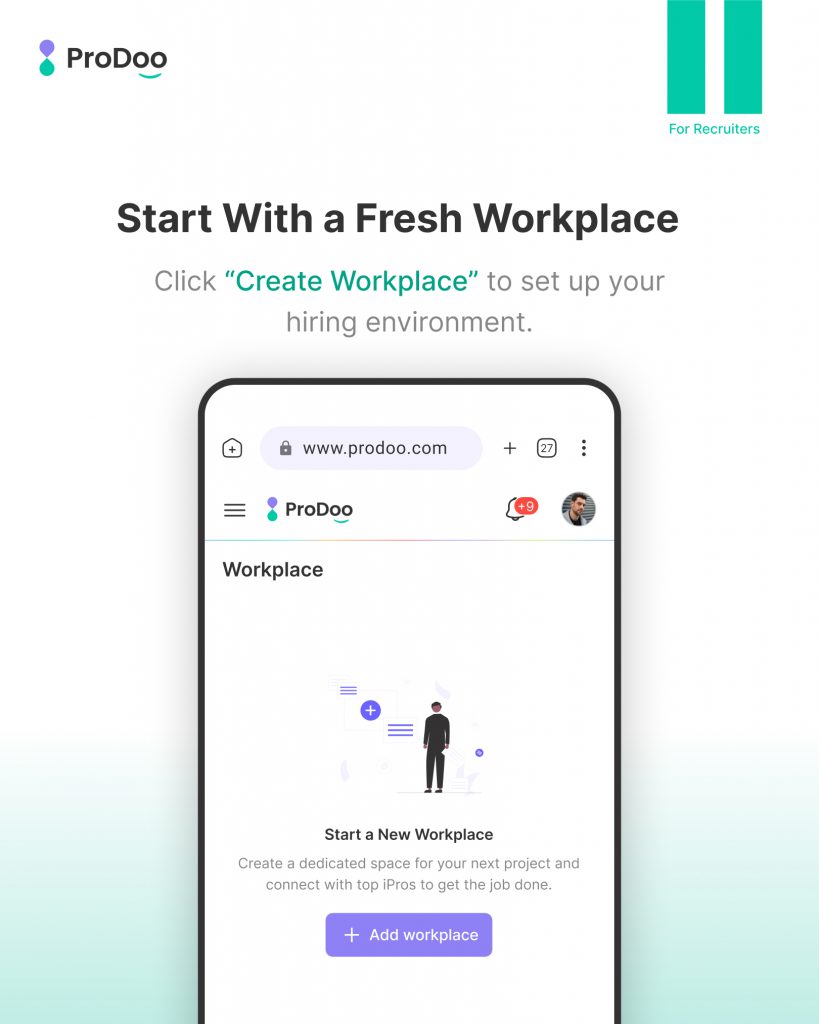
Step 1: Start With a Fresh Workplace
The journey begins on your dashboard. To set up your specific hiring environment, look for the central illustration prompting you to start. Simply click the “Add workplace” button (or “Create Workplace”) to initialize a new dedicated space for your project.
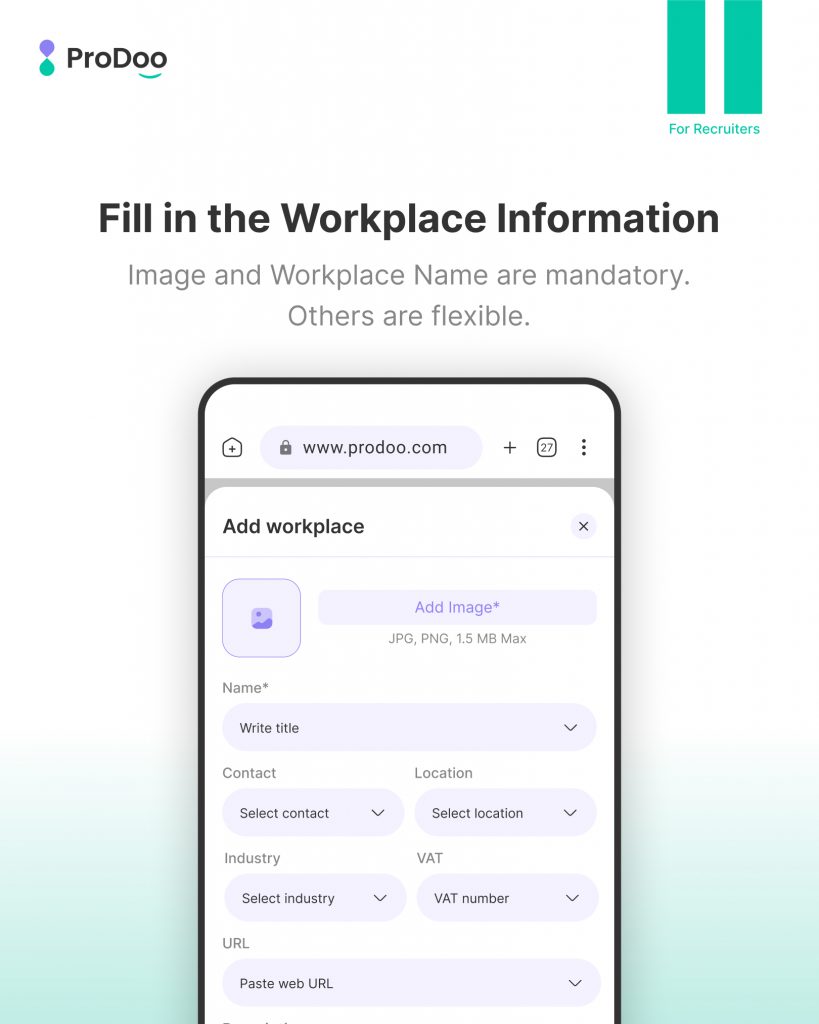
Step 2: Fill in the Workplace Information
Next, you will give your workplace an identity. This form allows you to input all necessary details. Please note that the Image and Workplace Name are mandatory fields to ensure your team is easily identifiable. Other details such as contact info, location, industry, and VAT number are flexible and can be added as needed.
Step 3: Choose Your Default Workplace
Once you have created multiple workplaces such as a Design Team, Marketing Team, or Sales Team you can view them all in a centralized list. From here, you can choose a Default Workplace. Enabling “Set as Default” ensures that this specific workplace is automatically used for your new workflows, saving you time on repetitive selection.

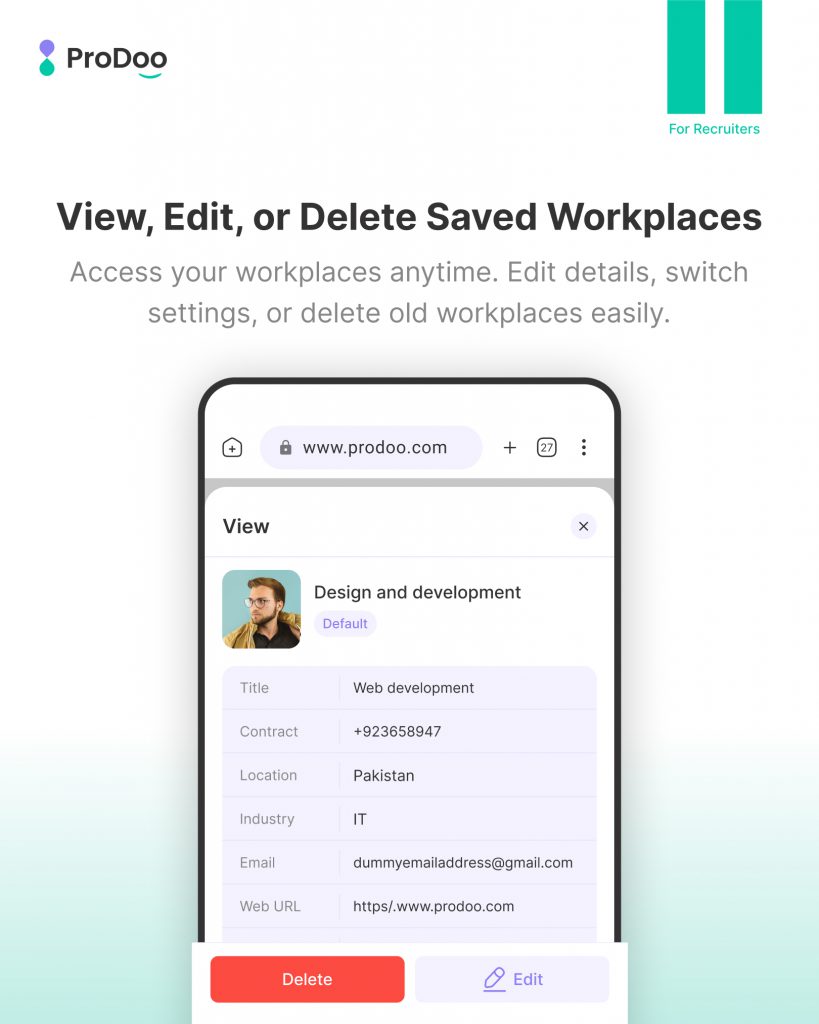
Step 4: View, Edit, or Delete Saved Workplaces
Your organization needs might change, and ProDoo allows you to adapt. You can access your saved workplaces at any time to view their specific details, such as contract numbers or locations. The detailed view also provides quick options to Edit the workplace settings or Delete old workplaces that are no longer in use, keeping your dashboard clutter-free.